Astra Firewall Settings
If you wish to disable or enable the firewall for any reason, you can do so on the settings tab of the Astra portal.
Make sure you turn the Firewall back on in order to ensure full protection!

On the Settings tab of the Astra Portal, you’ll notice 2 Protection Mode settings. Monitoring and Blocking.
- Monitoring Mode
- Monitoring Mode is recommended when you first install Astra for your website. Astra will show you what attacks would be blocked if you were in the Blocking Mode so this is a great way to fine tune the settings of Astra when you first install it. Monitoring Mode does not actively block any attacks.
- Blocking Mode
- Blocking Mode means the firewall is active and Astra will block threats. Astra uses Artificial Intelligence to block actual threats. There are occassional instances where a block may occur that shouldn’t have been blocked. If this happens to you, click on the Threats link to the left to see how to Whitelist that action or feel free to reach out Astra directly or us for support.
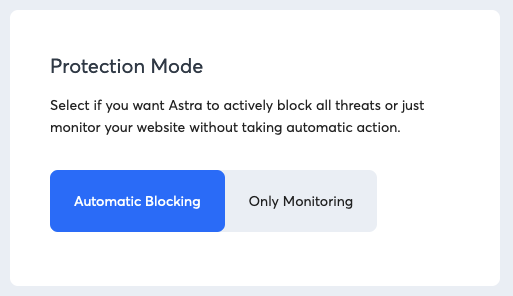
Make sure ‘Blocking’ is enabled in order to ensure full protection!
If you need any assistance, please submit a ticket for Technical Support
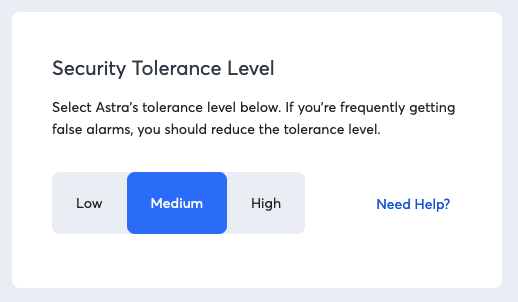
Astra offers a Low, Medium and High Tolerance Level. This determines how fast Astra blocks a Threat and each level is explained below.
The security level of the Astra Website Protection plugin determines how the plugin blocks attackers coming to your website. It depends on some factors (but not limited to):
- Attack Intensity
- Attack Frequency
- IP Reputation
- Low
- Challenges only the most threatening visitors
- Medium
- Challenges both moderate threat visitors and the most threatening visitors
- High
- Challenges all visitors that exhibit threatening behavior within the last 14 days
The default level is medium
- How to change the Security Tolerance Level
- Login to your Astra Account, click on the Settings tab and under the Security Tolerance Level section, click Low, Medium, or High. The change takes effect immediately.
If you need any assistance, please submit a ticket for Technical Support
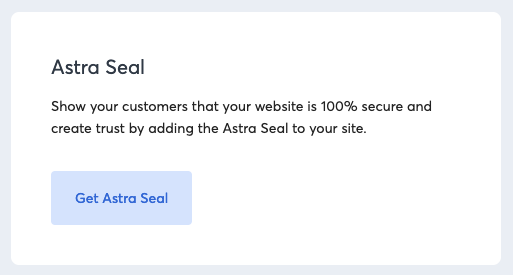
Want to show your website visitors that you take website security very serious? Display the Astra badge on your website to let them know.
-
Login to the Astra Dashboard
-
Once you are logged in, choose the domain you want to add the seal to and click Dashboard
-
Next, click Settings from the tab options, shown below
-
Scroll down on the Settings page and find the section that says Embed the Seal. Click the green button that says Get the Code.
- Follow the instructions on the popup. It will tell you exactly where to place the code within your website files. Once added, clear your browser cache and reload your page. The site seal should now be visible.
If you need any assistance, please submit a ticket for Technical Support
Add up to 2 additional Team Members to allow them access to your Astra Dashboard.
-
Login to the Astra Dashboard
-
Navigate to the Settings tab
-
Scroll down to the Add Team Members Section
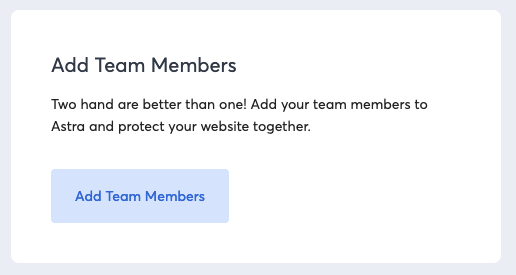
- A popup will appear where you can add the Users Name and email address. An email will be sent to them to notify them and allow them to create their own login password for Astra.
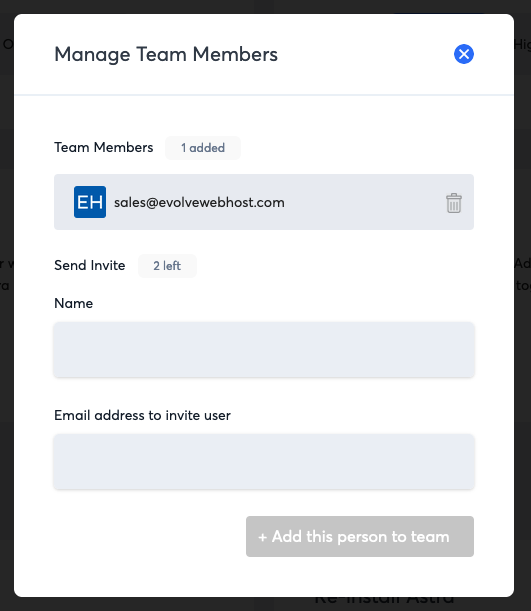
On the above screen, you can also revoke any users access, at any time. Under Active Collaborators, click the Revoke link. If you accidentally remove someone, you will need to add them again.
If you need any assistance, please submit a ticket for Technical Support
Check the version of Astra that you have installed vs. the latest version. Update if needed. See our documentation to Install Astra for Wordpress or how to Install Astra for Opencart
Note that Auto Update is not functional at this time The plugin needs to be manually updated until further notice.
If you need any assistance, please submit a ticket for Technical Support
If you need to reinstall Astra for any reason (in the case of a new website upgrade or any other reason), you can do so within minutes if you’d like to do it yourself.
See our documentation to Install Astra for Wordpress or how to Install Astra for Opencart
If you need any assistance, please submit a ticket for Technical Support
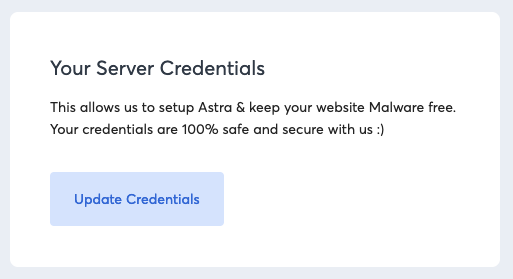
Server Credentials are needed if you need assistance installing the plugin and/or have Malware that needs to be removed. Astra allows you to either provide your Hosting Control Panel (cPanel, DirectAdmin, etc) or your FTP login credentials.
Adding your Hosting control login credentials or FTP credentials allows them to do so. These details can be added within minutes through your Astra Dashboard.
-
Login to the Astra Dashboard
-
Go to the Dashboard for the domain you will be adding credentials for
-
Click on the Settings tab found near the top of your screen
-
Scroll down and find Update Server Credentials and click the button that says Update Credentials
- Choose the appropriate tab for the credentials you are about to add (Hosting Panel or cPanel, SSH or FTP)
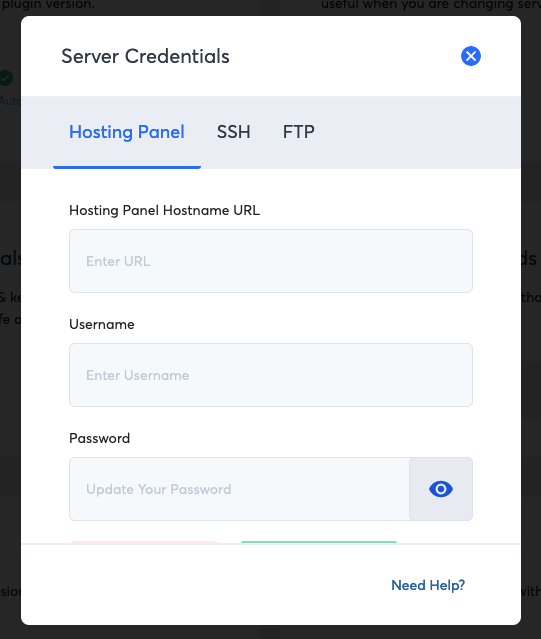
- Enter your credentials in the provided fields and click Save
Repeat this process for each domain if you have multiple websites secured by Astra.
That’s it! Now Astra has this information and can cleanup your website files if Malware is ever detected or any other troubleshooting is needed.
If you need any assistance, please submit a ticket for Technical Support
By Default, Astra monitors attacks to all Get and Post requests on a website. For most users, this is enough to provide adequate protection. If you are running and more complex website would would like to monitor additional request methods, head over to the Settings tab and fine tune the settings from the options below.
- Methods Available to Monitor
- Get
- Post
- Put
- Patch
- Cookies
If you need any assistance, please submit a ticket for Technical Support
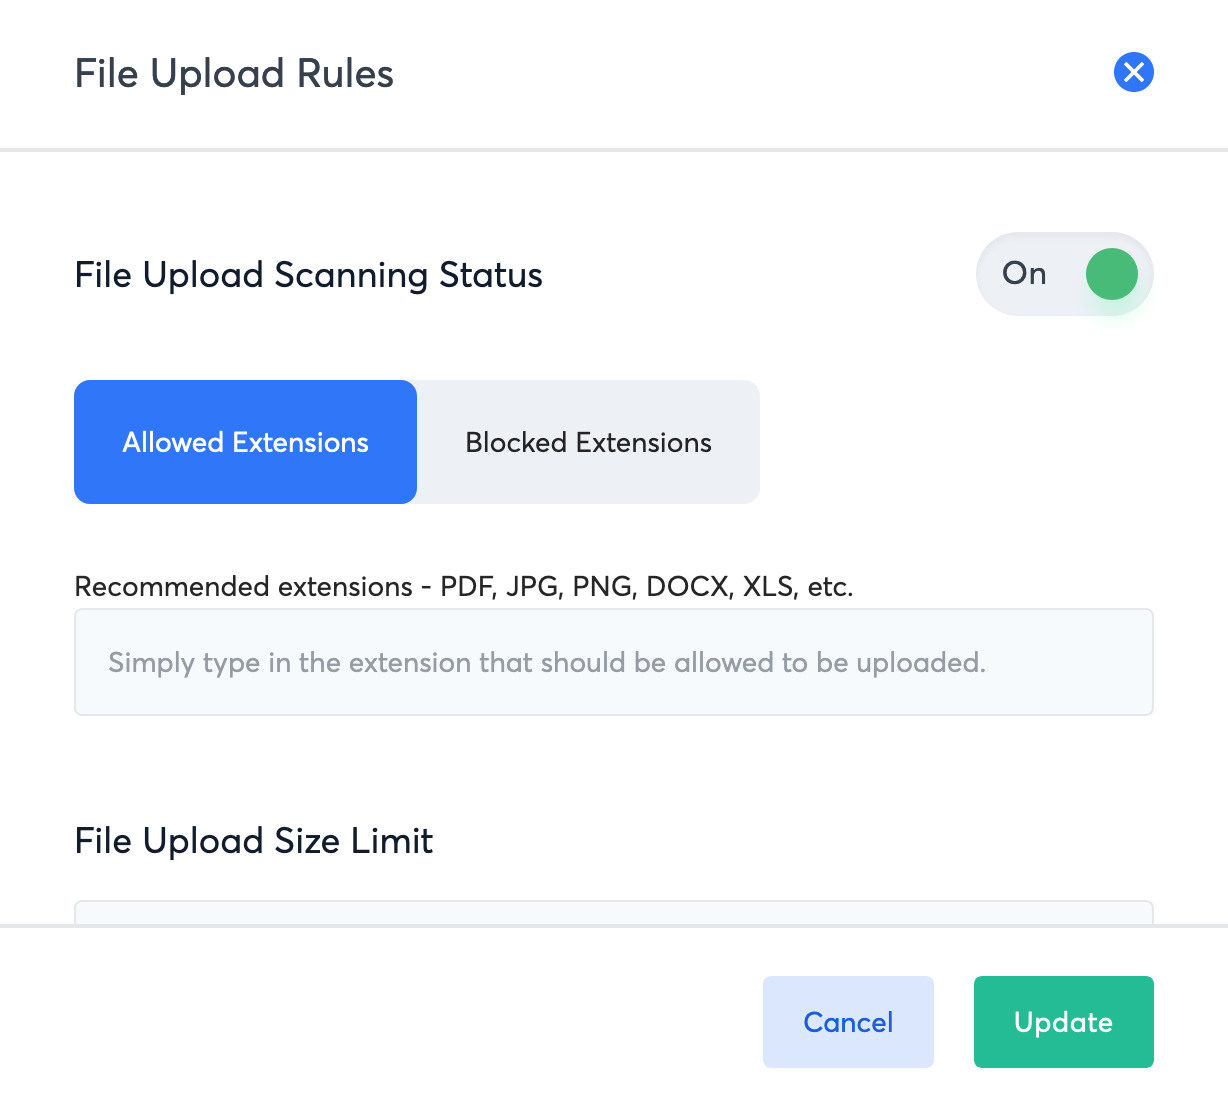
Astra provides the ability to control the types of files you can have uploaded through your Website Forms and they’ll also scan the files to make sure they are not malicious.
Once you are logged into the Astra Dashboard navigate to the settings tab and scroll down to locate the File Upload Rules section. Click Configure Rules for the popup below to appear and you can configure the allowed and blocked file types.
If you need any assistance, please submit a ticket for Technical Support
If you need any assistance, please submit a ticket for Technical Support