Evolve Web Hosting Portal Account Users
Our website allows you to send an invite to anyone else and limit their access depending on your needs. This can be maintained or revoked at any time by you.
As of May 2021, our Billing System has implemented a new User Management feature that replaces what many knew as contacts along with additional functions. What you may have known as Contacts in the past have been converted to Users.
What is the new User Management Feature?
User Management allows a single user access to multiple client accounts. It clearly separates authentication and authorization from services, billing, and support. It’s also a simple, powerful, flexible way for customers to manage their accounts and grant access to it to other users.
Definition of a User
Users have one or more associated accounts that they can access and manage. When a new account is created, a new user is created based on the account profile. This new user then becomes the account owner (see below). Separate controls manage users’ access to each account.
For example, each of a web designer’s customers could represent a distinct account. The web designer could log in as a user and access each of these accounts using a single set of credentials. However, the accounts themselves would not be connected.
Definition of an Account Owner
Each account is associated with a single account owner. Account owners have all of the possible permissions that a user can possess. They are also the only user who can send invitations from the account to new or existing users.
During checkout, users can choose to create a new account for the items in the cart. In this case, the system will assign account ownership for the new account to that user.
Allow User Access to Your Account
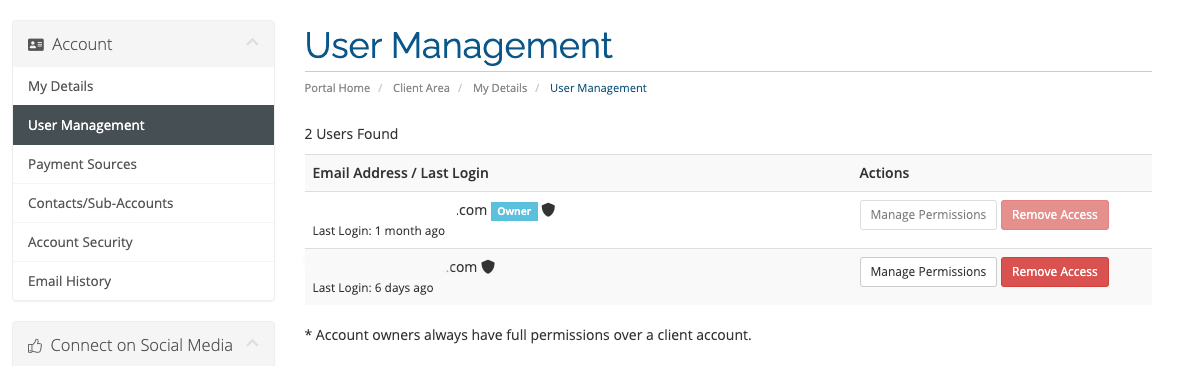
Account owners can manage users and their permissions from the User Management section of the Client Area.
How to Send an Invite to a New User
To connect a user to multiple accounts at any time, send invitations from each account to that user or email address. The invitee will receive an email and must click the included link.
- If you send an invitation to an email address for an existing account, they can access the client account using their existing login credentials.
- If the email address does not correspond to an existing account, they can create one.
Note: Invitations expire after 7 days
Note: While invitations go to the specified email address, the recipient can complete the invitation process using this link with any email address they choose. Because of this, accepting an invitation is not equivalent to user email verification, which is a separate feature.
Account owners can send invitations from the User Management section of the Client Area.
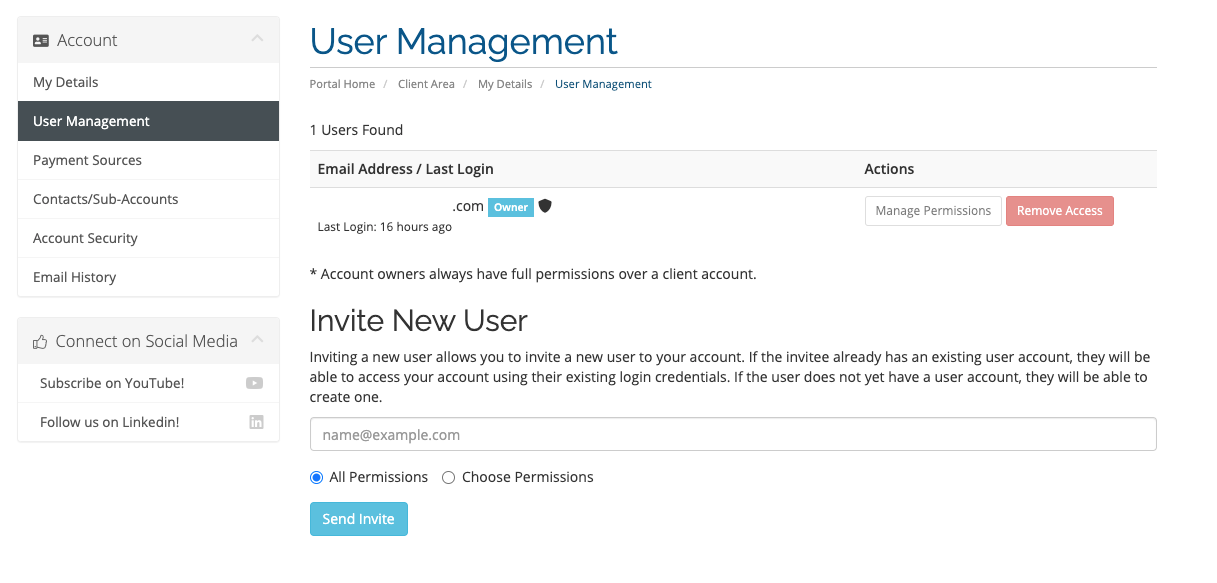
To begin the invite process:
-
Go to Hello, Name! > User Management
-
Enter an email address under Invite New User
-
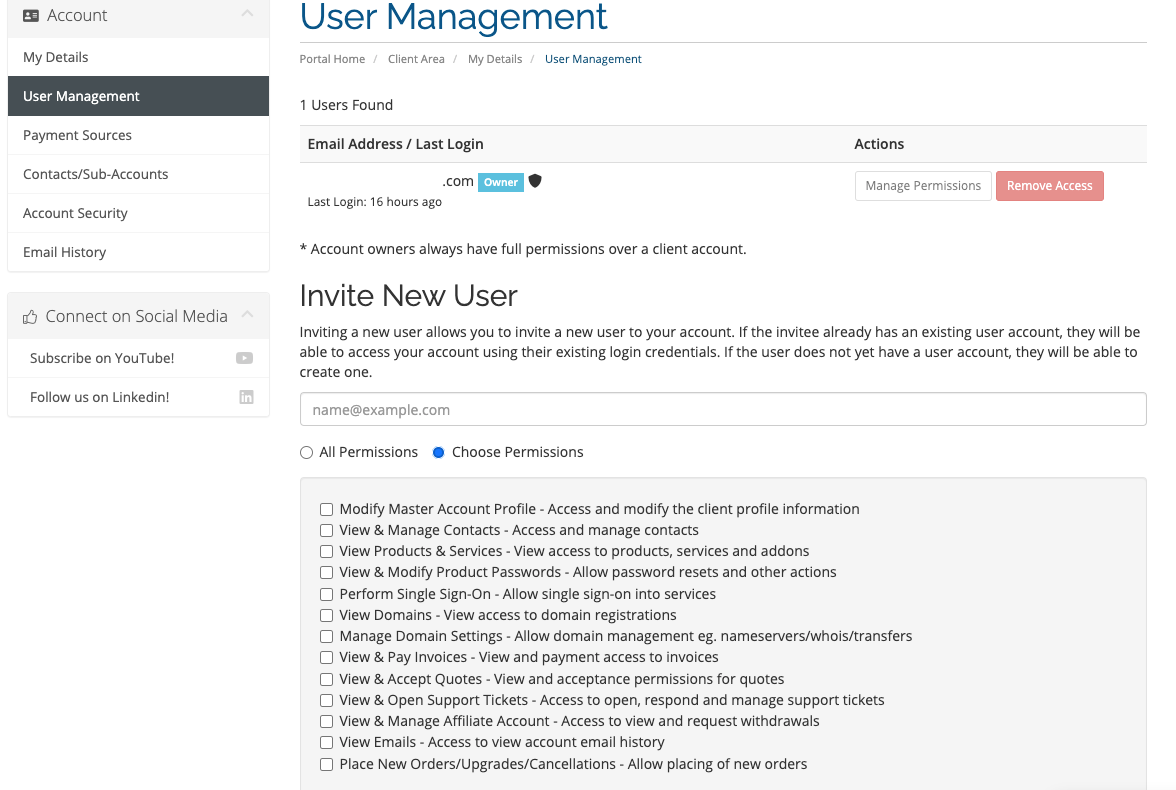
Choose All Permissions to grant all available permissions, or choose Choose Permissions and select the desired permissions
-
Click Send Invite
Account owners can manage users and their permissions from the User Management section of the Client Area.
To access the user management page:
-
Go to Hello, your name! > User Management
-
Find the desired user in the list
-
Click Manage Permissions
-
Select the desired permissions
-
Click Save Changes

When a user who is only associated with one account logs in, their login session will automatically be associated with that account.
When a user with more than one account logs in, the Choose Account page will display. The user must select an account so that only information relevant to that account displays.
Click on the desired account name to log in to that account. You can change your account at any time by going to Hello, your name!, clicking Switch Account, and clicking an account name again.
If you have any questions or concerns about this, please submit a ticket for our Billing Department